Purpose
Why are you taking on this major home improvement project? Clearly defining your goals and priorities early on will inform all your subsequent decisions.
Increase Functionality
Do you cook often and find that your current layout hampers efficiency? Are appliances failing or cabinets loaded to the brim? A kitchen remodel allows you to rearrange and replace components to best suit your cooking needs. Carefully consider how you use your kitchen and what frustrates you most.
- If entertaining is important, leave room for multiple cooks.
- If you bake frequently, ensure adequate countertop space and storage.
Enhance Enjoyment
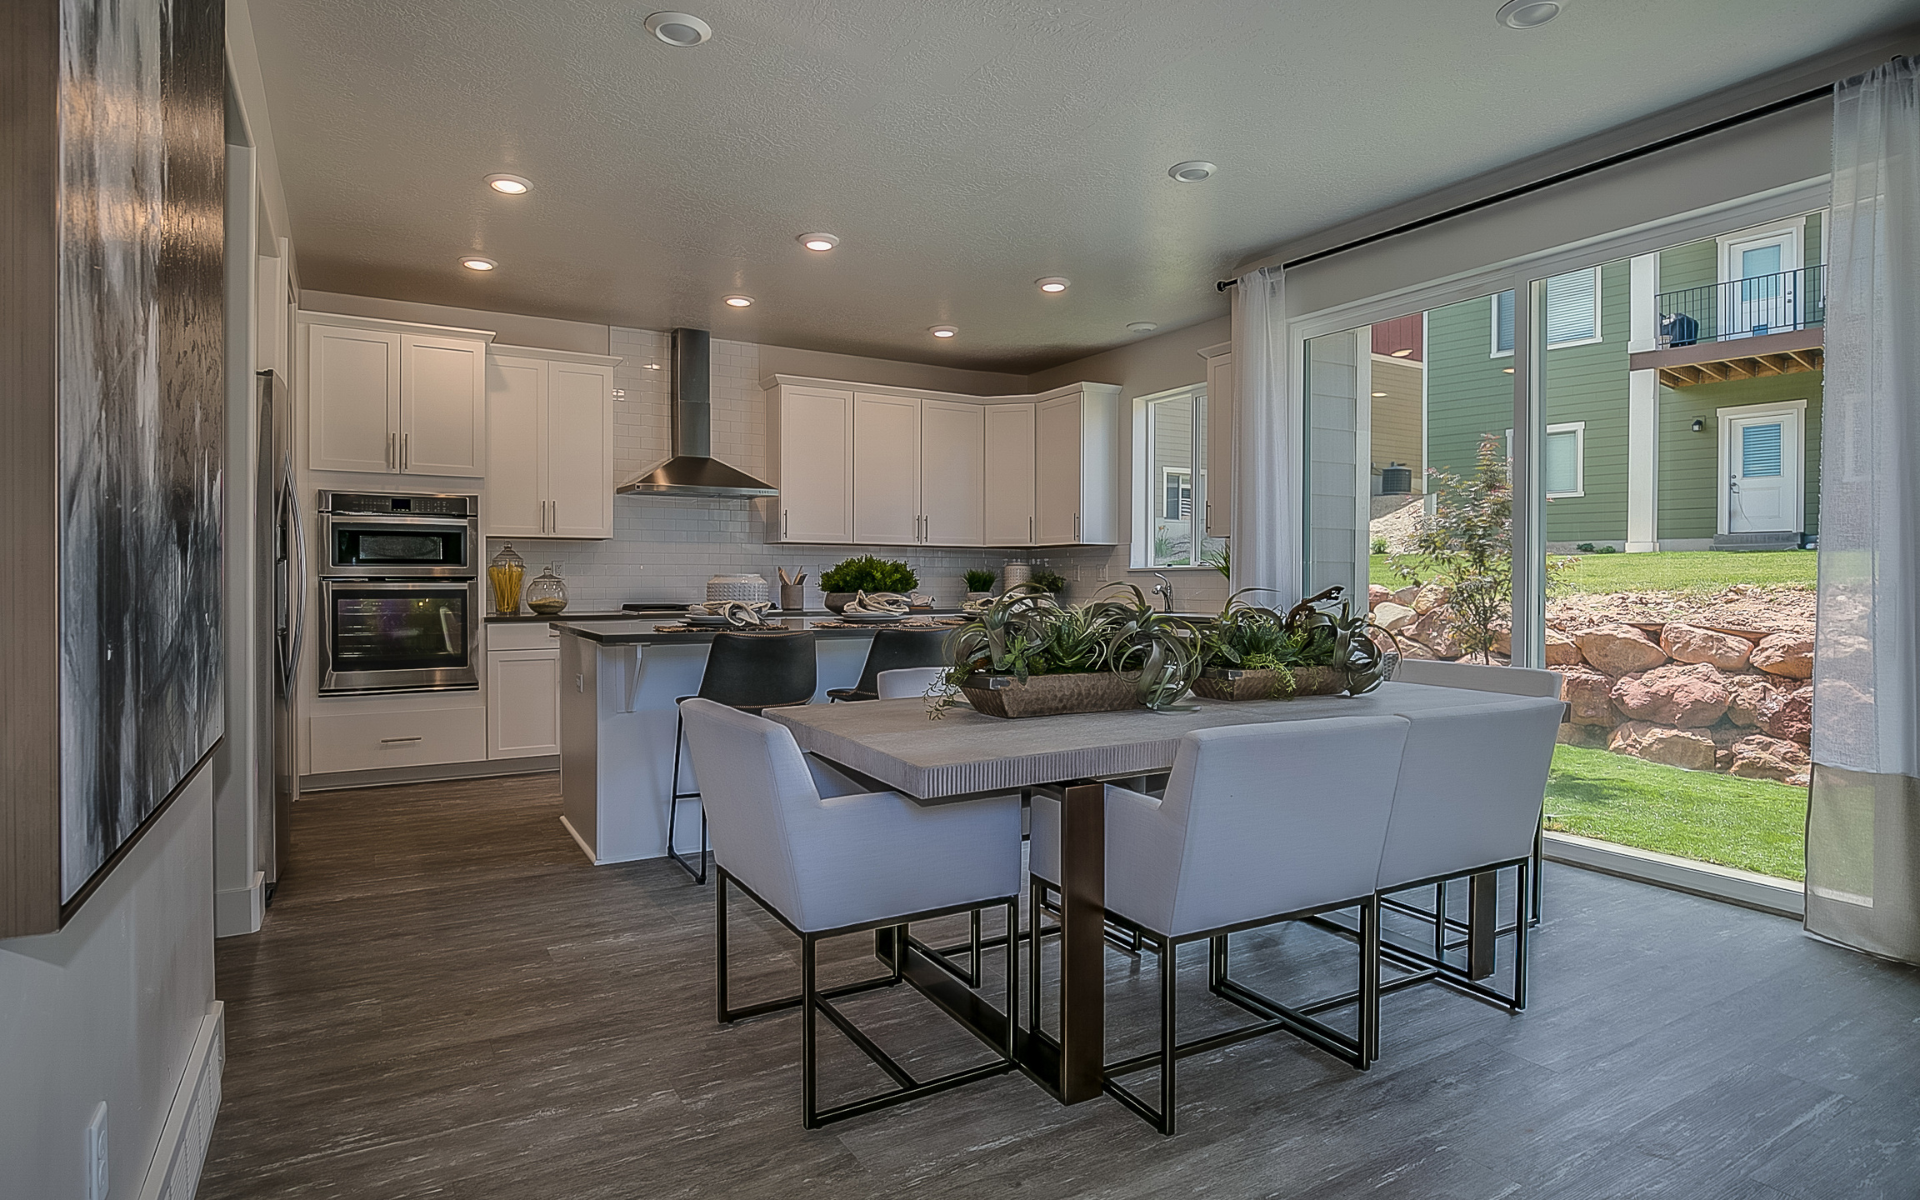
Along with cooking, the kitchen is often the gathering place for family and friends. A lighting makeover paired with a fresh coat of paint in your favorite hue can make the space much more inviting.
- Upgrading appliances not only improves functionality but also brings in modern conveniences that make cooking and clean-up easier.
- Little details like soft-close hinges on new cabinets also add satisfaction.
Increase Home Value
A kitchen remodel offers one of the highest returns on investment for home remodeling projects. The National Association of Realtors estimates a typical major kitchen remodel costs around $135,000 but can net as much as $126,000 extra when selling your home. Even minor upgrades like refacing cabinets and replacing appliances boost buyer appeal.
Analysis
Conduct in-depth research before formulating a remodeling plan. Tracking your family’s needs, measuring the existing kitchen, and understanding your budget constraints will shape the project scope.
Assess Current Usage
Observe how your family interacts in the kitchen.
- Are multiple people cooking together?
- Who unpacks groceries and organizes pantry items?
- Does anyone use the kitchen table to pay bills?
List all these activities. Also track complaints about storage, layout, or appliances. Addressing these pain points through strategic upgrades will make the biggest impact.
Take Measurements
Use a measuring tape to record the dimensions of cabinets, walls, windows, and appliances. This accounting of your existing footprint is crucial information for the design process.
- If any part of your home’s structure like walls or floors will be impacted, consult an architect or contractor early when establishing the project scope.
Set Expectations
Be realistic about how much you can afford to invest in this home remodeling project.
- Get quotes from contractors on potential changes to understand cost implications.
- Some upgrades like adding high-end appliances or luxury materials can escalate expenditures rapidly.
- Focus first on structural changes like moving plumbing or electricity that are hard to do later.
- Cosmetic upgrades like floor tiling patterns can always be done down the road.
Strategy
Armed with a clear vision of your needs, priorities, and constraints, the exciting planning stage begins. Sketch out ideas for your dream kitchen, select materials and finishes, and assemble the right team.
Design Initial Layouts
Start doodling some different configurations of appliances, countertops, cabinets, and work zones on paper.
- If struggling to envision changes, have a kitchen designer turn your wish list into some initial drawings.
- Think ahead to upcoming life stages like kids growing up or retiring.
- Will a kitchen island or breakfast nook meet future entertaining needs?
Pick a Color Palette and Materials
Select wall paints, cabinet finishes, backsplashes, flooring and hardware in coordinated colors.
- Arrange paint chips and material samples next to each other to ensure everything flows visually.
- If feeling overwhelmed by options, design sites like Houzz provide templates showing palettes and materials that work well together.
- Remember to actually visit local hardware stores to examine products like eco-friendly flooring in person before finalizing.
Assemble Your Remodeling Team
Find a general contractor experienced in kitchen remodels who can coordinate electricians, plumbers and other sub-contractors.
- Meet with potential cabinet builders and suppliers for design input and quotes.
- Research reputations thoroughly since inferior craftsmanship can sabotage the project.
- Clearly outline expectations and budgets with every trade professional.
Structure
Meticulous planning ensures the project stays on schedule and within budget once demolition starts. Transfer your plans from paper to workable blueprints. Research permitting regulations. Schedule accordingly as delays in obtaining permits can postpone the job for weeks.
Finalize Required Permits
- Meet with your contractor and local permitting office early on to identify needed paperwork like demolition, electrical, plumbing, and architectural permits.
- New layouts may require updated safety accommodations like more outlets, lighting, or ventilation to pass modern code requirements.
- Build in sufficient lead time for submitting forms.
Solidify Blueprint Plans
Choose a final kitchen layout reflecting compromises between your dream wish list and budget realities.
- Work with architects as needed to render detailed drawings covering cabinet configurations, appliance placements, flooring, lighting, sink, and plumbing locations.
- Build in flexibility for last-minute adjustments.
Create a Project Timeline
Breakdown the full set of tasks from initial demolition all the way until the final coat of paint is applied.
- Assign durations allowing extra padding for potential hiccups obtaining permits or materials backorders.
- Confirm contractor and sub-contractor availability to avoid scheduling conflicts later on.
- Consider timelines for ordering customized elements like cabinet doors which can take 4-6 weeks for production and delivery after measurements of the new kitchen are complete.
Step-by-Step Remodeling Instructions
Now that the planning and prep work is complete, it’s time to dive into the actual kitchen makeover! Follow these step-by-step remodeling instructions for a smooth process:
Prep the Kitchen
- Clear everything out of cabinets and drawers. Label contents to make reloading the new kitchen easier.
- Photograph the existing kitchen layout to assist with reassembly.
- Cover nearby rooms with plastic sheeting to protect from debris.
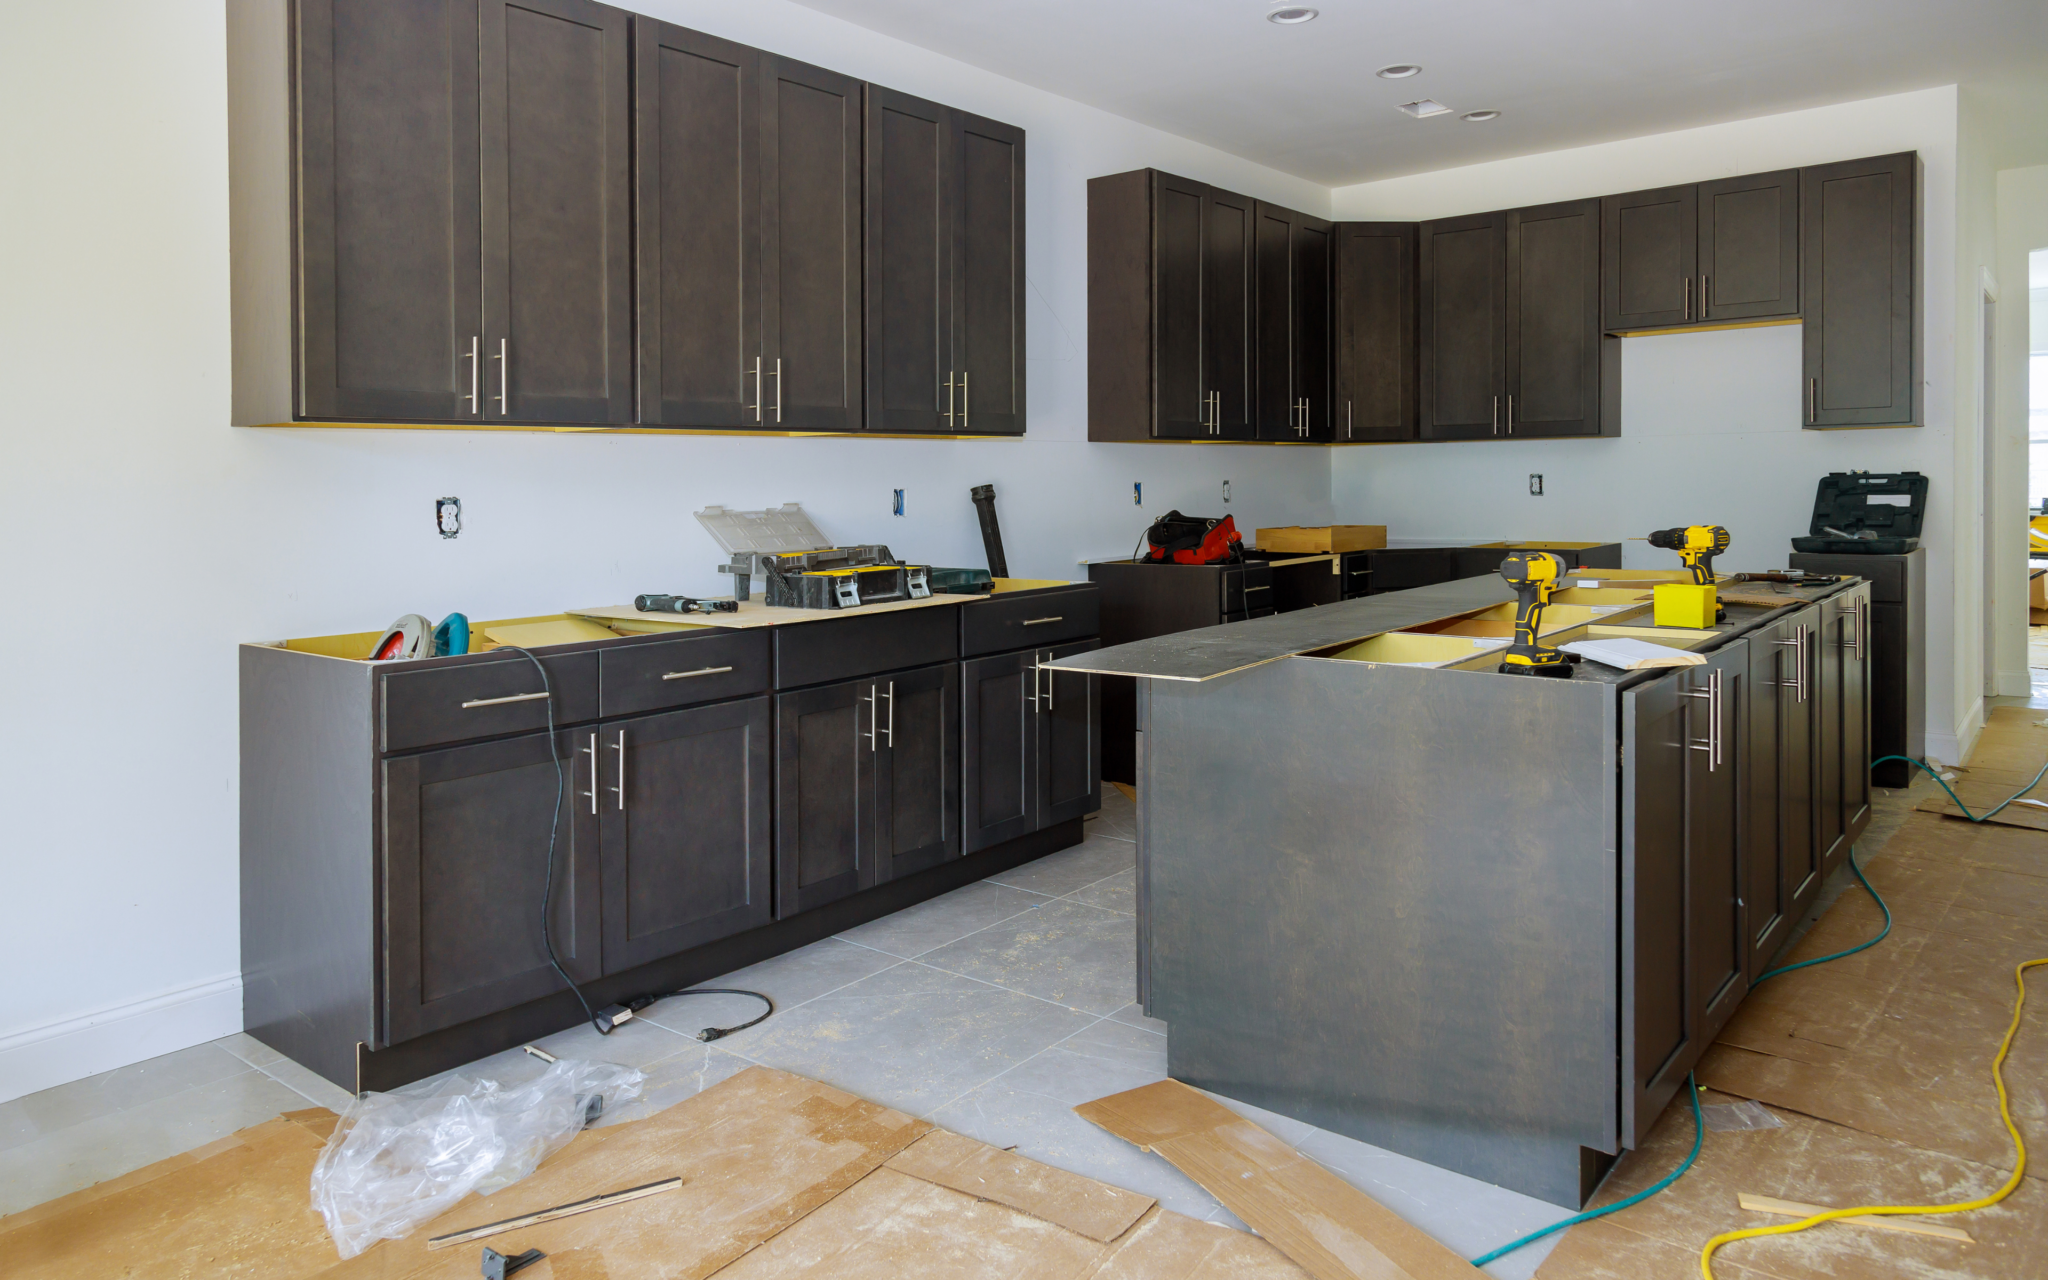
Demo Outdated Components
- Turn off electricity and water connections before starting demolition.
- Remove old cabinets, countertops, sinks, and appliances to make way for fresh new components.
- Rip up existing flooring if being replaced.
Install New Layout and Structures
- Frame any new walls, flooring, or cabinet structures according to agreed-upon blueprints.
- Install insulation, updated electric and plumbing per permits. Ensure proper ventilation.
- Waterproof flooring appropriately prior to laying tile or wood.
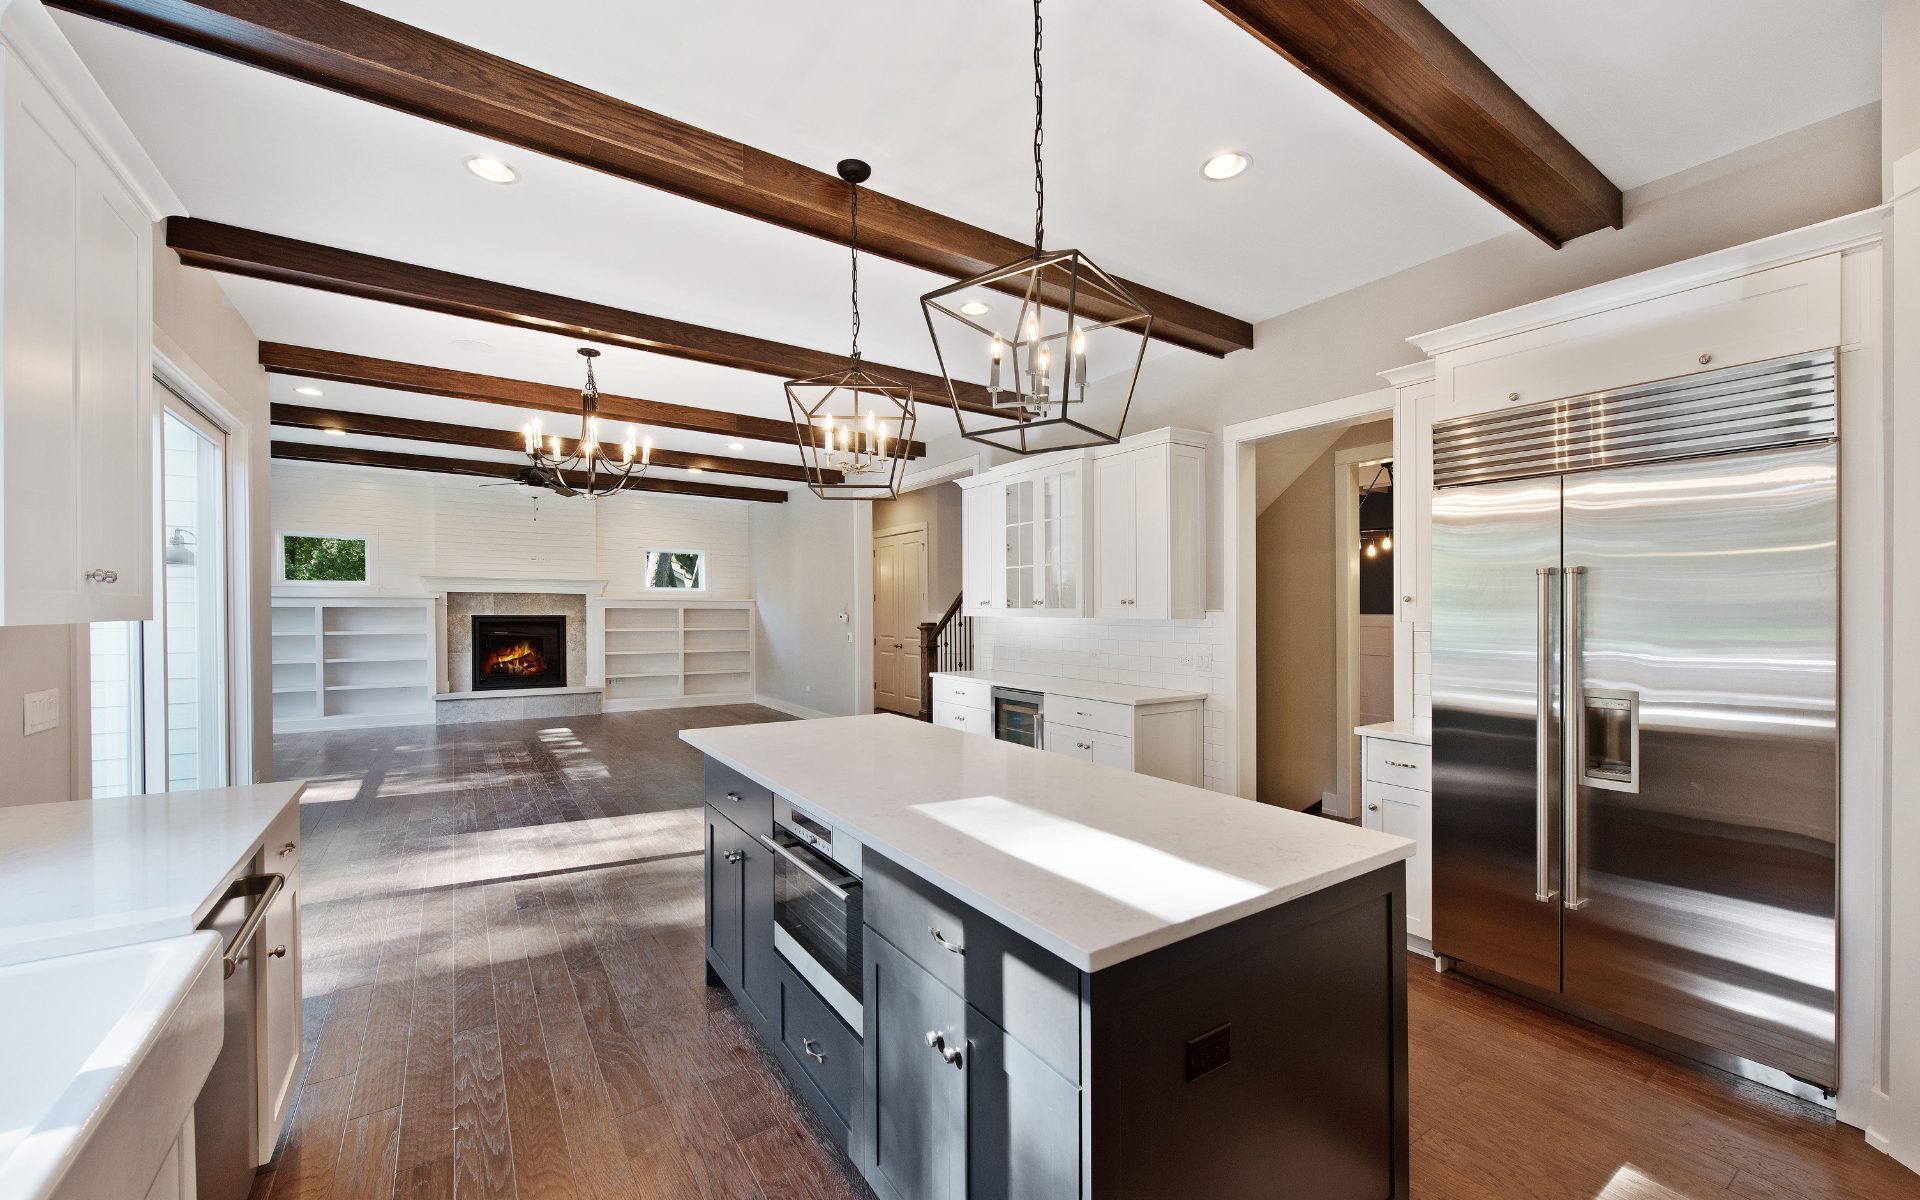
Add Finishing Touches
- Install new cabinets, doors, handles and soft-close hinges.
- Position countertops and sinks. Hook up appliances to electric and plumbing.
- Paint walls with selected color palette.
- Uncover and clean adjacent rooms impacted by debris.
As recommended by the National Kitchen and Bath Association (NKBA), when remodeling your kitchen thoroughly analyze how your family uses the space. Observe traffic patterns and meal preparation habits to optimize workflow. Consider contacting a certified kitchen designer to help translate needs into practical layouts and product selections.
Next Steps
With careful planning guided by this kitchen remodeling checklist, you are now ready to manifest your dreams into reality! Please share any tips or questions about your own experience renovating a kitchen. What wisdom have you gained that could help fellow DIYers think through the process? Let’s keep the cooking and conversations going to inspire even more upgrades creating happy homes for our families.